Table Of Content

If the earth hatched from a giant egg, as the ancient Persians believed, it might have resembled one of these in our dreamy dozen. We used a simple dyeing technique to create intricate swirls of color. To create the look of a swirling nebula, use the foam pouncer to dab two semi-circles of gold paint, highlighting the center with white craft paint. To get that far-off starry effect, flick the stiff bristles of your paintbrush or lightly tap to splatter the surface with white paint. Looking for a last-minute Easter egg to impress your guests?
Gruyère, Bacon, and Spinach Scrambled Eggs
Most of these techniques are super simple, and all produce beautiful results. Download and print out our coloring book illustrations. For each egg, brush the back of the drawing with a thin coat of découpage finish. Place the illustration where desired on the dyed egg; smooth down with your fingers. Let dry for 1 hour, then color in the design with markers.
Easter egg decorating ideas: Egg-cellent designs to impress your loved ones this weekend - Yahoo Singapore News
Easter egg decorating ideas: Egg-cellent designs to impress your loved ones this weekend.
Posted: Tue, 26 Mar 2024 07:00:00 GMT [source]
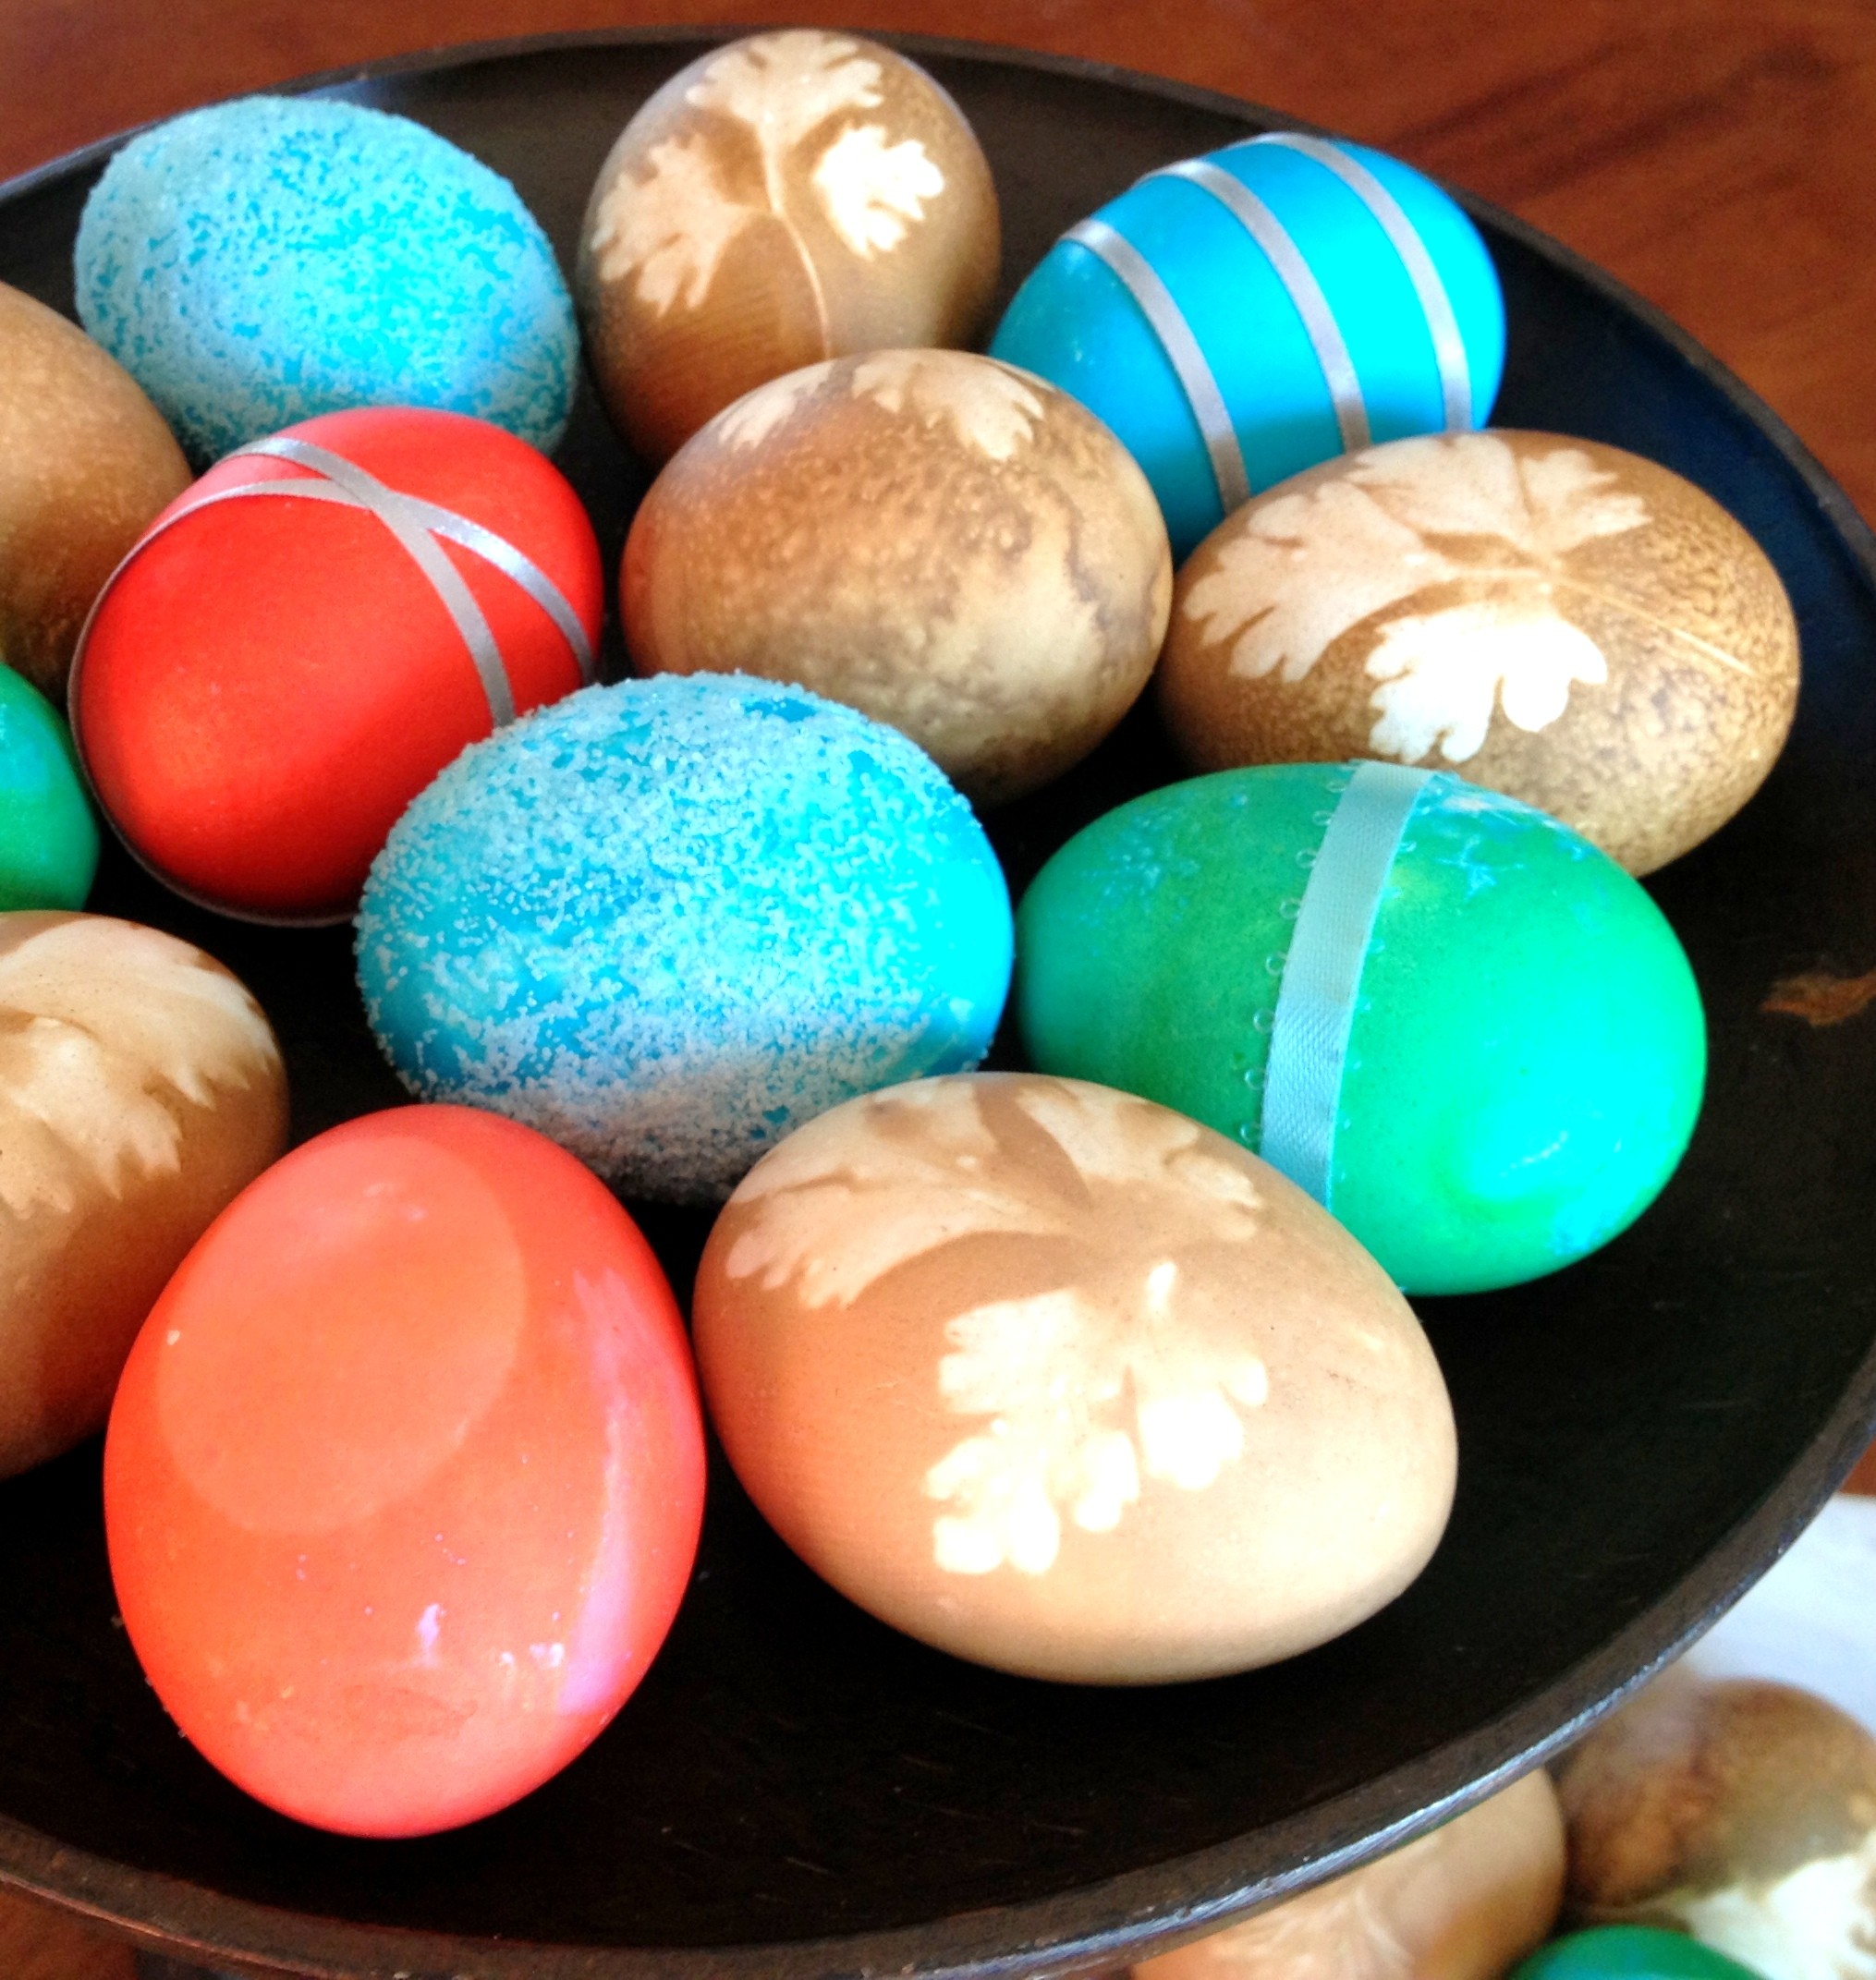
Thread-Wrapped Easter Eggs
Combine Easter with your obsession for all things 80's with these time warp eggs inspired by the colorful and geometric vibes of the Memphis design movement. All you'll need is acrylic craft paint, a few brushes, and a steady-ish hand to paint on the basic shapes and dot them with black accents. Take the traditional decoupage technique and use it on your Easter eggs—it's a fun project for kids and adults. Cut small squares from different colored tissue papers and mix a little bit of Mod Podge and water together.
Triple dipped eggs

Here's a way to really send a message (literally) with your Easter eggs. If you have a Cricut machine, you can use it to print and cut out letters from adhesive or contact paper. If you don't have one, you can use letter stickers for a similar effect. Use tweezers to place the letters on the already-dyed eggs. Marble is definitely having a moment in home decor, so why not apply it to your Easter eggs? The deep indigo makes each egg pattern reminiscent of shibori (a Japanese tie-dye technique), so it's even more on-trend.
To make stripes that are a lighter shade of your desired color, dye the eggs first, then add the string and dye again. For the boldest silk-dyed egg designs, choose bright colors and graphic designs. If you've got some paper doilies in your stash and a bit of paint, you can dye eggs and then paint the most delicate designs on them without really trying! I never realized that naturally dyed Easter eggs could be so beautiful!
Hollow out your eggs and, once dry, break the shell with a spoon, so you have the bottom two-thirds left. You can make these by coloring eggs with yellow acrylic paint or yellow dye. Then add each chick’s features with paint, marker, or with eyes and beaks made from card stock.
Little ones will love mixing all sorts of colors in the shaving cream to marbleize their eggs effortlessly. These adorable eggs are actually very simple to make, and they're created with the help of a crafting material that the kids will love to play with—bubble wrap! Try selecting a few pastel shades to mix in a new set of your favorites.
Tip the egg in dye, then repeat two times at different angles to create interesting geometric patterns. For a more varied effect, leave each layer in the dye for different lengths of time. These graphic eggs take a design cue from the printing press, where misaligned plates result in slightly skewed, or "off-register," type and images. The larger sizes were hollowed out and transformed into mini vases; they work as baskets, too. We then colored and filled them with spring blooms like daffodils and pansies to create decorations full of whimsy and cheer. First, sketch in pencil using guidelines to section off an egg into a grid pattern; then, add detail within the grid.
The tutorial for this idea is no longer available, but these chickies look fairly straight forward. The detailing is probably done with black sharpie and the beaks are simply a tiny square of orange paper folded in half and glued in place. These cute and creative Easter egg chicks are surprisingly easy to make. Decorate eggs for Easter in a fresh new way, whether you prefer to dye Easter eggs, use stickers, or paint.
Some abstract and throwback patterns never go out of style. Bring a retro feel to your Easter Sunday celebration with '90s-patterned eggs, designed using acrylic paint. Start with a blown-out egg coated in a layer of Mod Podge and have fun with embroidery designs.
Simply cut out the illustrations and glue them to the eggs with a découpage finish, then fill in the outlines. To get the look of vintage café au lait bowls, set an egg back in its carton, spray-paint the top, and add matching dots. You can easily create polka dots by dipping a foam pouncer into a bit of white or blue craft paint and transferring it to your egg. In today’s post, the focus is on egg drop project ideas! The egg drop experiment involves designing a device that can protect a raw egg from breaking when dropped from a certain height.
Try these elevated versions stuffed with scrambled eggs, crunchy bacon and melty cheese. There are plenty of ideas here suitable for anyone from beginner decorators all the way through experienced artisans. Every year, these plastic eggs just seem to materialize inside the house.
This method is a great way to use broken eggshells following mishaps when blowing out your eggs, creating a dynamic, graphic pattern. Choose fine-tipped pens and draw on lines or patterns. You can even write something on the eggs, like a special message. Metallic confetti is the most durable option and creates a sparkling, disco-ball effect. You can also experiment with other types, from tissue paper confetti to diamond confetti. Pinch onto each end of the skewer by the egg to hold it in place.
This fine art's signature is black-ink brushstrokes on rice paper. I hope these ideas have sparked your creativity and encouraged you to think about simple materials in new and innovative ways. Once you've dyed your Easter eggs, embellish them with a quick and stylish band.


No comments:
Post a Comment